Maintaining the correct valve position on your water softener is critical to ensuring it functions properly and provides your household with quality water. Different positions on a water softener’s valve play an essential role in its operation and the maintenance of your plumbing system. Learning how to manage these positions is a key aspect of water softener upkeep.
Understanding when and how to adjust the valve positions can contribute significantly to the longevity of your appliance and the quality of your water. If you need to perform maintenance or service, knowing how to use the bypass valve allows you to continue using water in your home without passing it through the softener. This is vital during repairs or when the softener is not in use.
Key Takeaways
- Proper valve adjustment is essential for effective water softening.
- The bypass valve is crucial for maintenance without disrupting home water use.
- Correct valve positioning impacts both appliance longevity and water quality.
Understanding Valve Positions and Their Indications
To effectively manage your water softener system, grasping the functionality of various valve positions is essential. Specific positions on the valves dictate the flow of water, directly impacting your water quality.
Identifying Valve Types and Their Functions
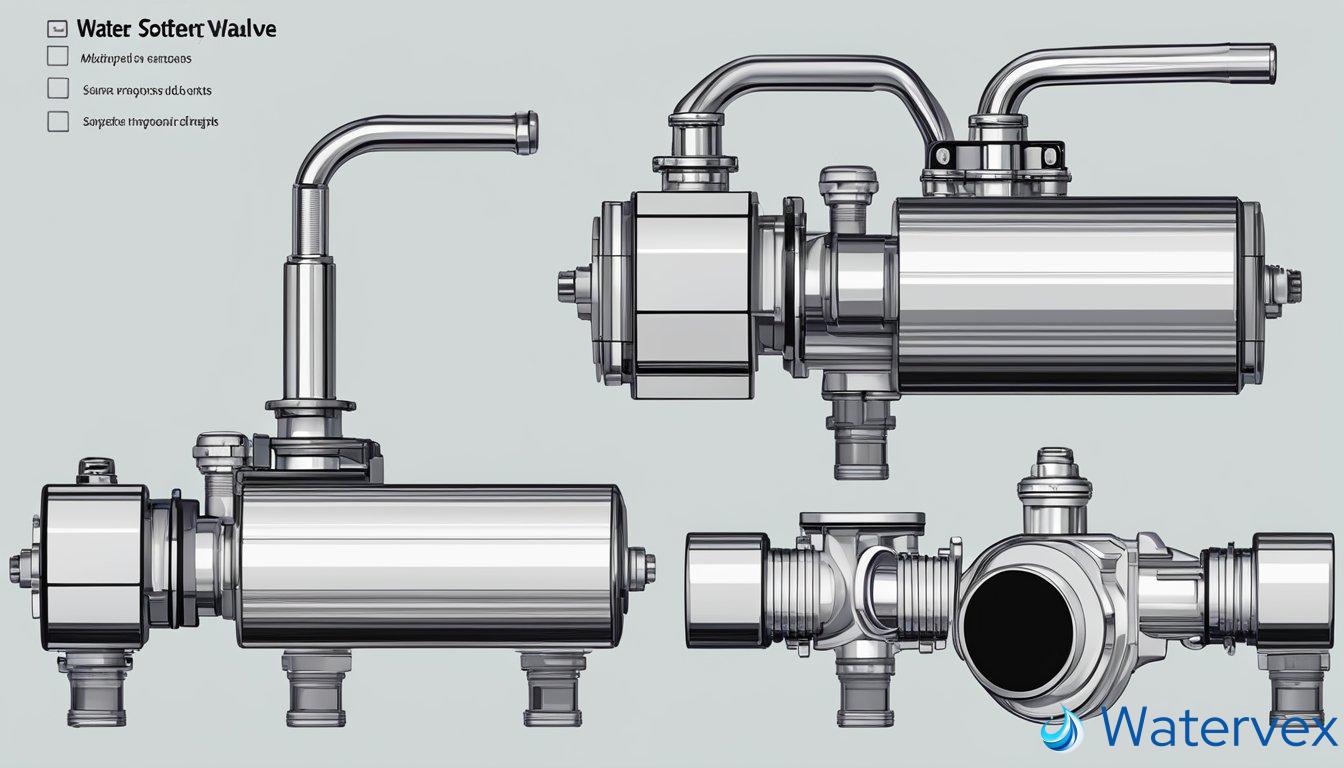
Bypass Valve: This is a critical component allowing you to divert water away from the softener when maintenance or troubleshooting is required.
- Lever-Like Valve: Often found on manual water softener systems, this type of valve involves a simple lever you pivot to switch between modes.
- Rotating Bypass Valves: These require turning a knob or wheel, aligning with the necessary position for bypass or regular flow.
Understanding the functions of these valves is pivotal:
- Normal Operation: Water passes through the softener, where minerals are exchanged.
- Bypass Mode: Water skips the softener, moving directly to your taps.
Pro Tip: Regularly operate your valves to prevent them from seizing up due to mineral buildup.
Reading the Valve Position Indicators
Valve position indicators often come in the form of engraved arrows or text labels, guiding you toward proper alignment.
- Arrows: Look for these on the body of the valve. Their direction can indicate the flow of water or the necessary turn to engage a specific mode.
- Labels: These might come as text saying “bypass” or “service,” designating the function when the lever or knob points to them.
It’s important to recognize these indicators to maintain the quality of your water efficiently. When adjusting the valve, you might have to turn a knob clockwise or move a lever to the side opposite its resting position. Each detail can make a substantial difference in operation and maintenance ease.
Remember: The indicators present on your water softener are there to aid you in understanding how to control your system effectively. Becoming familiar with them ensures that you can respond to any water quality issues with confidence.
Optimizing Water Softener Valve Adjustments
To ensure your water softener operates efficiently, precise valve adjustments are crucial. They help manage water pressure and the balance between soft water production and efficient water usage.
Adjusting for Soft Water Production
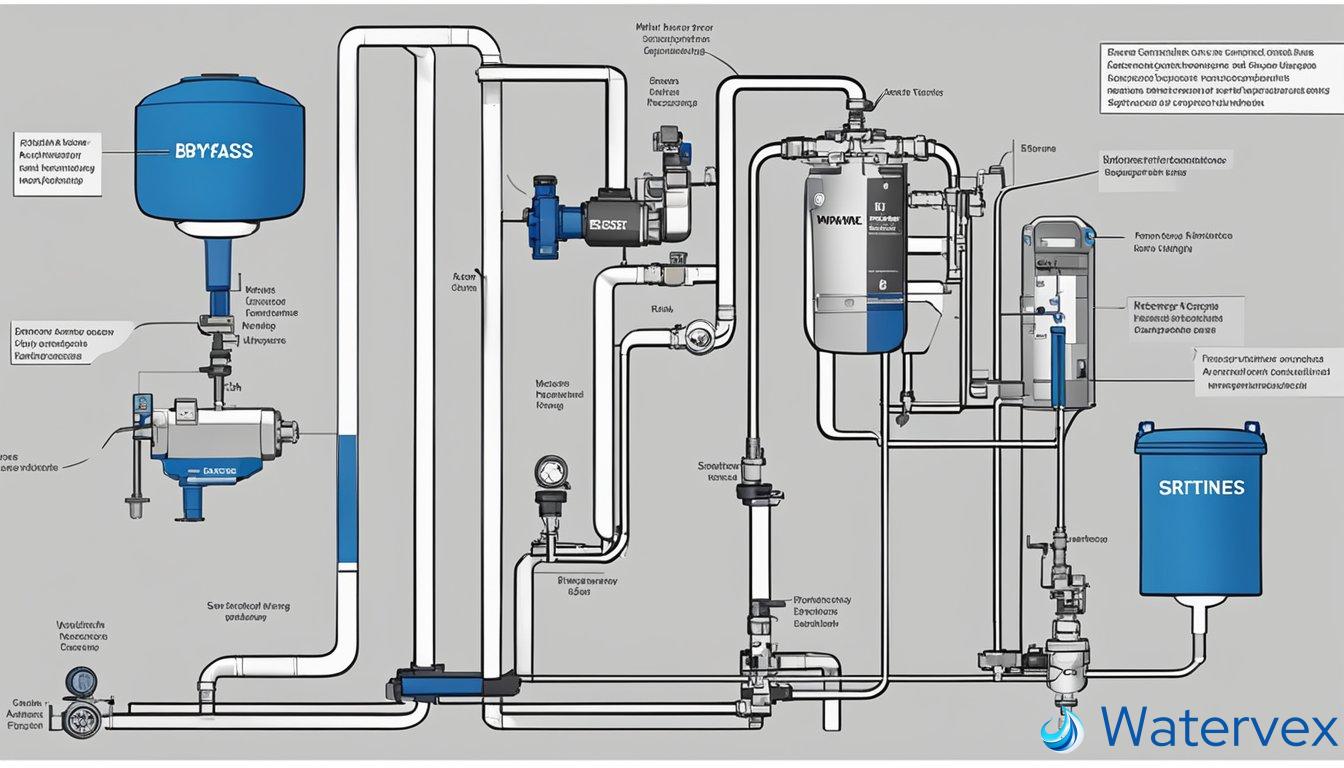
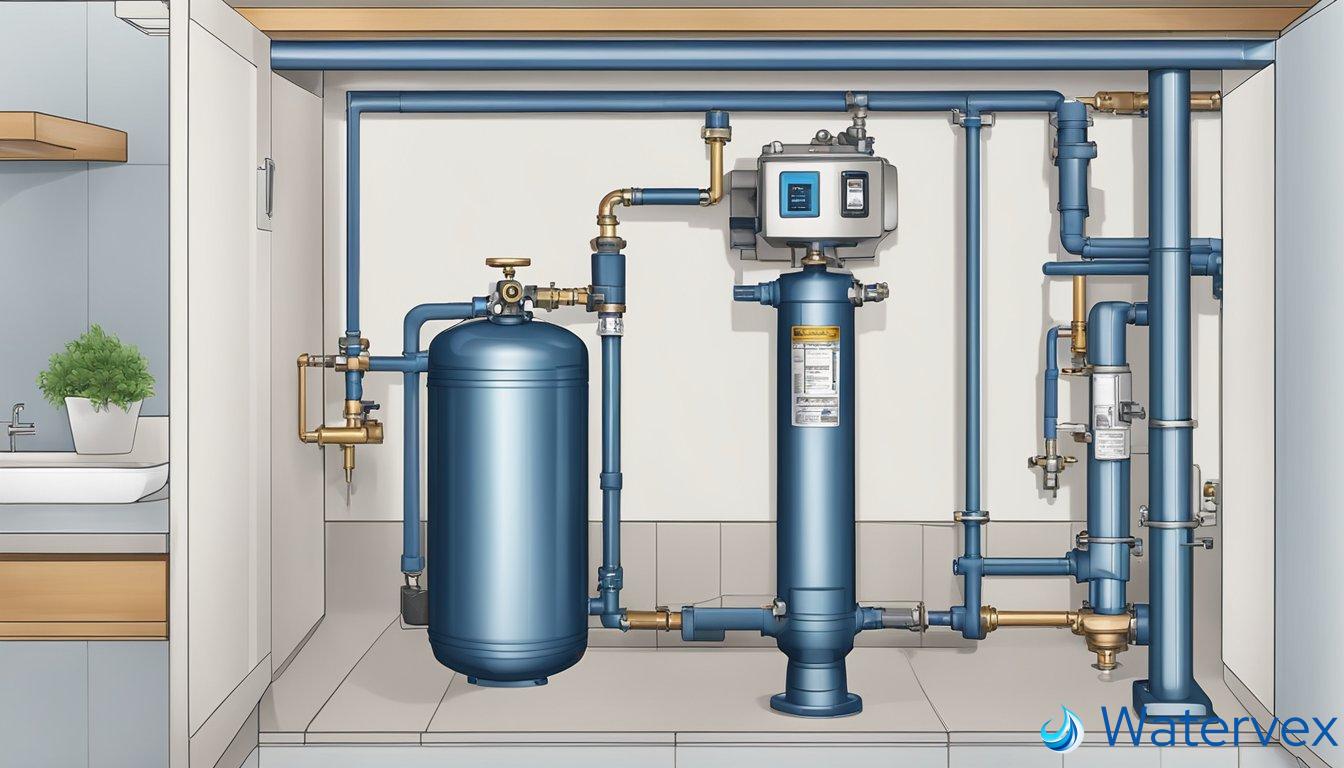
Adjusting your water softener’s valves to optimize soft water production can drastically reduce the presence of minerals like calcium and magnesium. Begin by locating the inlet and outlet valves on your system. The position of these valves directly affects water flow and pressure, influencing how water interacts with the resin beads that soften your water.
For most water softeners, you will want to:
- Turn the inlet valve slowly until you notice an increase in water pressure at the point of entry.
- Observe the system’s response; too much pressure can lead to inefficient operation and wear on your system.
- Make minute adjustments until you find a position that maintains consistent water pressure without overworking the system.
By setting the valves just right, you tailor your system to your home’s specific needs, balancing water flow with the amount of softening required for your water hardness level.
Setting the Valve for Efficient Water Usage
The valve setting is not just about soft water; it’s equally about conserving water. Efficient water usage can be achieved by managing the flow through the softener during the regeneration cycle. This cycle cleans the resin beads, which trap hardness minerals, by flushing them with a high concentration of saltwater from the brine tank.
Here’s what to do:
- During the regeneration process, adjust the valves to manage the rate at which water enters and leaves the softener. A slower rate often leads to more efficient use of both water and salt.
- Monitor the system during a full regeneration cycle to ensure there is adequate water flow for the brine solution to effectively remove captured minerals from the resin beads.
Remember, these adjustments go hand in hand: soft water production and efficient water usage are both outcomes of well-set valves on your water softener system. By taking control of your water softener valves, you’re optimizing the system for your home’s unique needs, contributing to longer appliance life, scale prevention, and improved water taste and safety.
Troubleshooting Common Valve Setting Issues
When managing a water softener system, encountering issues with valve settings can disrupt your water quality and flow. Understanding how to troubleshoot these problems can save you time and ensure that your system operates effectively.
Handling Bypass Valve Leaks and Repairs
If you discover a leak in your bypass valve, it’s a signal that something is amiss within your water softener’s intricate system. Firstly, examine the bypass valve for any obvious signs of damage or wear. Seals within the valve can become worn out and result in leaks. In the case of such damage, replacement of the affected parts is necessary. For minor leaks, tightening the connections might resolve the issue. Nevertheless, if leaks persist, consulting your owner’s manual or contacting a professional for water softener repair should be your next step.
Resolving Water Pressure Problems
A dip in water pressure can often be traced back to the valve settings on your softener. It’s essential to ensure that the valve is correctly set to service mode, not bypass, for normal operation. If your water pressure is low, scrutinize the bypass valve to confirm it’s fully open. A partial opening can restrict water flow. Moreover, the issue might stem from clogged filters or resin beads in your system, which a thorough cleaning or replacement will resolve. Remember, consistent maintenance of your water softener is paramount in averting these pressure issues and sustaining an optimal water supply for your home.

