Managing water hardness is essential for protecting your home’s plumbing and maintaining the efficiency of appliances. A crucial component in this battle against hard water is the water softener valve assembly, which is the brain of a water softener system. It’s responsible for regulating the flow of water through the unit, managing the cycles of softening or regeneration, and ensuring that your water softener operates optimally.
Understanding the function and maintenance of your water softener valve assembly can help you keep your system running smoothly and might save you from costly repairs or replacements. Each model of water softener has a specific valve assembly that will have a unique serial number for identification. Keeping track of this information can be beneficial for troubleshooting issues or when consulting professionals for maintenance or repair.
Key Takeaways
- The water softener valve assembly plays a pivotal role in the functioning of a water softener system.
- Knowledge of your assembly’s model and serial number is useful for maintenance or when seeking professional assistance.
- Regular check-ups and understanding how the valve assembly works can prevent major water softener issues.
What Is a Water Softener Valve Assembly?
A water softener valve assembly plays a critical role in the operation of a water softener, the device you rely on to remove the minerals that cause water hardness. Essentially, it’s the “brain” of your softener, directing the flow of water through your system.
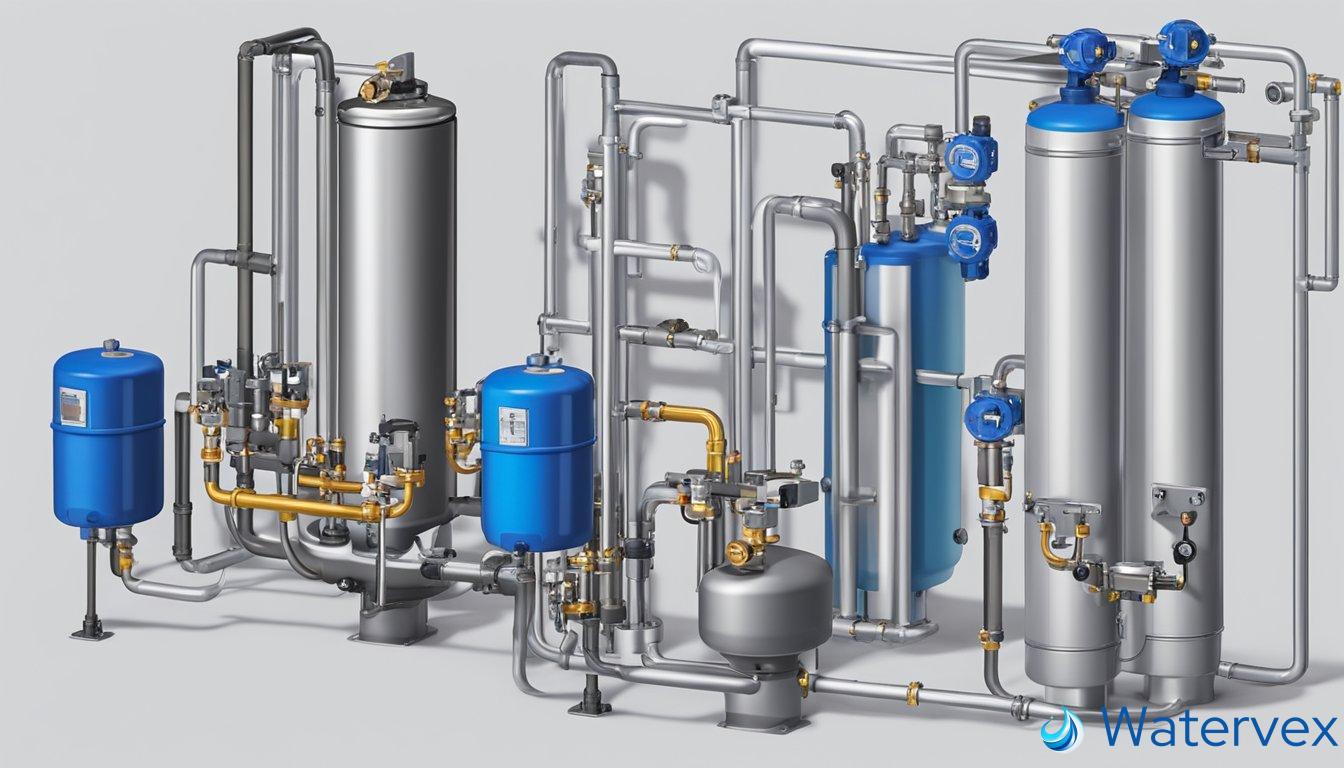
The valve assembly is typically located at the top of the softener. It includes several integral parts:
- Control valve: This regulates when and how the softening process occurs.
- Bypass valve: With this, you can stop water from passing through the softener when maintenance is needed or during regeneration.
- Motor: It drives the control valve, switching between different modes such as service, regeneration, or rinse cycles.
The resin tank is where the water softening process happens, and it connects to the valve assembly via the distribution tube. This setup filters hard water through resin beads that exchange hard ions with soft ones.
Now, let’s look at the salt tank, often referred to as the brine tank. It’s a separate container that holds a saline solution used during the regeneration cycle. This is where the brine hose comes into play, connecting the salt tank to the resin tank.
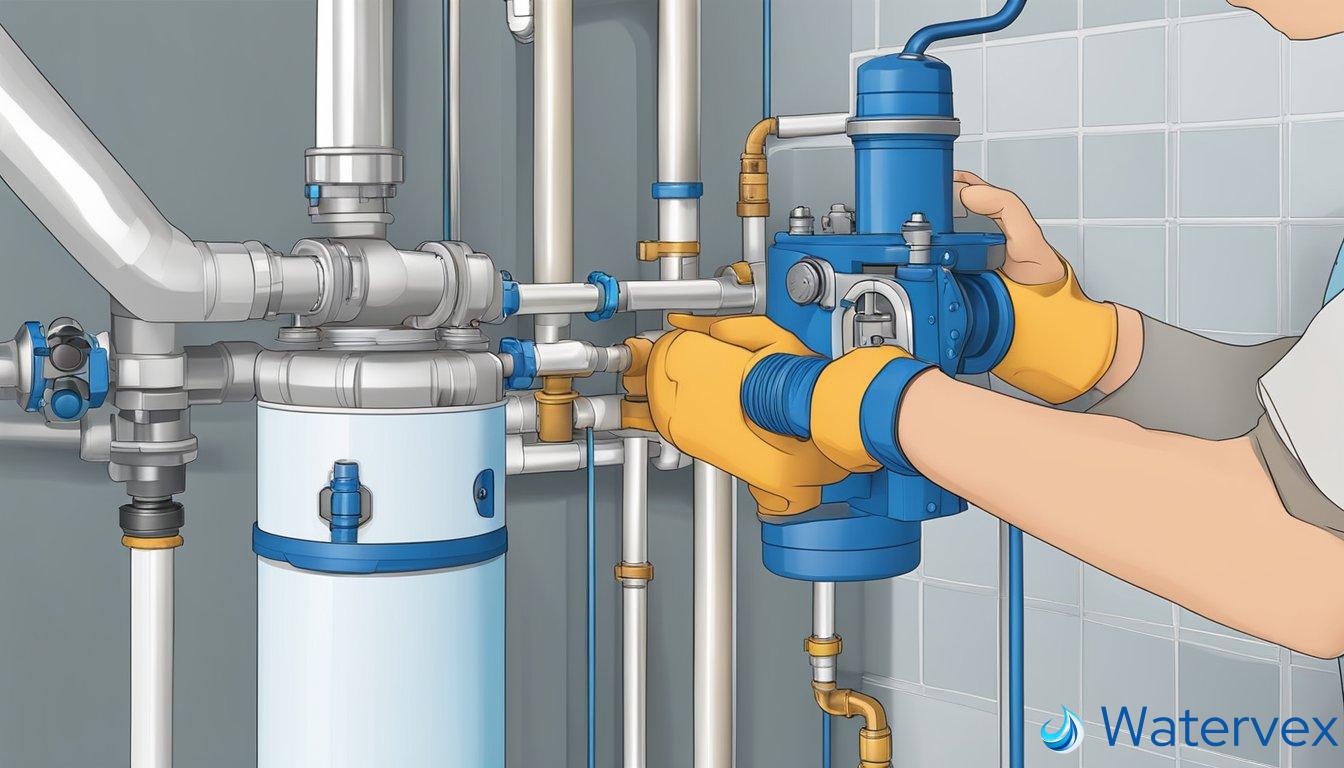
The bypass valve is particularly important. It allows you to cut the supply to the softener for top cover removal or when you need to access the venturi and clips for cleaning or maintenance without shutting off your home’s water supply.
To ensure your softener runs efficiently, it’s vital to regularly check these components. Look for signs of wear or malfunction, especially in the moving parts like the motor and control valve, since they are most susceptible to breakdown. Remember to keep an eye on the salt level in the salt tank and make sure the salt lid is secure to avoid contamination.
By understanding your water softener valve assembly, you maintain the heart of your water softener system, ensuring your family enjoys soft water for years to come.
How Does a Valve Assembly Function in Water Softening?
The valve assembly is a crucial component of a water softener system as it directs the flow of water through various stages of softening and regeneration.
Understanding the Recharge Cycle
In the world of water softeners, the valve assembly orchestrates the recharge cycle — an essential process for the continuous provision of soft water. During this cycle, the valve assembly controls water pressure and flow, guiding it through different paths for either softening or regeneration. Let’s imagine the valve assembly as a traffic conductor at a busy intersection, where water is the traffic, and the streets are the pathways within the softener. Firstly, the valve signals the system to divert hard water to the resin tank, ensuring that ions responsible for water hardness are exchanged with sodium or potassium ions from the resin beads.
When the resin beads reach their capacity and can no longer efficiently soften water, the valve assembly triggers regeneration. It recalibrates the flow to allow a highly concentrated salt solution, or brine, from the brine tank to enter the resin tank. As if pulling a plug, it then flushes out mineral-laden water through the drain line. It’s a meticulous sequence orchestrated by the valve, not unlike a ballet of fluids and pressures.
Components Critical to Function
Key components like the brine valve, float assembly, and venturi system work in unison within the valve assembly to ensure successful recharge cycles. The brine valve, for instance, acts like a doorkeeper, determining when brine enters the resin tank. Paired with the float assembly, they keep an eye on the brine level, preventing overflows and underfills by adjusting the flow like a ferrule nut fine-tunes the tightness of a garden hose connection.
The venturi system, on the other hand, plays a vital role in regulating air and water flow to create the proper suction for brine drawing during the recharge. This system, acting like an aircraft’s altitude control, ensures that the pressure is optimal for brine to move effectively and for regeneration to occur. It’s a tightly knit community of parts where even the smallest screen or plug has a role in safeguarding the integrity of the overall water softening symphony — all under the command of the valve assembly.
Maintenance and Troubleshooting
Maintaining your water softener valve assembly ensures longevity and efficiency, while troubleshooting helps to quickly identify and rectify common issues.
Recognizing Common Issues
Leaks: If you notice water pooling around your unit, this might indicate a problem with the o-ring or drain hose. Bubbles or persistent air release in the system can signal a compromised seal.
Salt Bridges: A solid crust forming in your salt tank can obstruct the regeneration process. Look for a hard, crusty layer; this is a telltale sign that your brine tank needs attention.
Step-by-Step Maintenance Guide
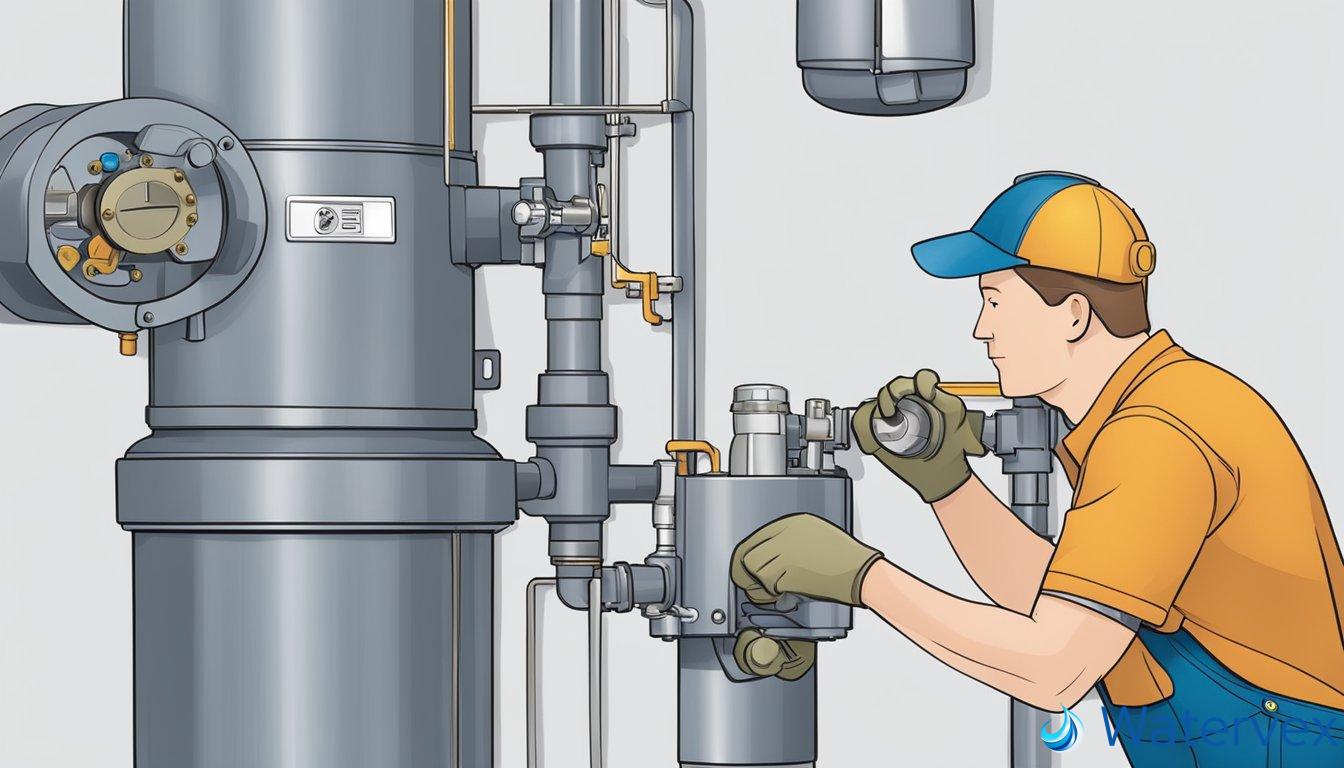
1. Regular Cleaning: Periodically clean the brine tank to prevent salt bridges. Turn off the power cord to ensure safety before cleaning.
2. O-Ring Inspection: The o-ring may eventually require replacement. Inspect it for wear and lubricate or replace as necessary.
3. Valve Maintenance: Conduct a visual and manual check on valves to prevent leaks. Replacement parts may be required if valves are damaged.
4. System Refill: After any repair, ensure your system is correctly refilled. Follow the manufacturer’s guide or consult repair guides for water softeners.
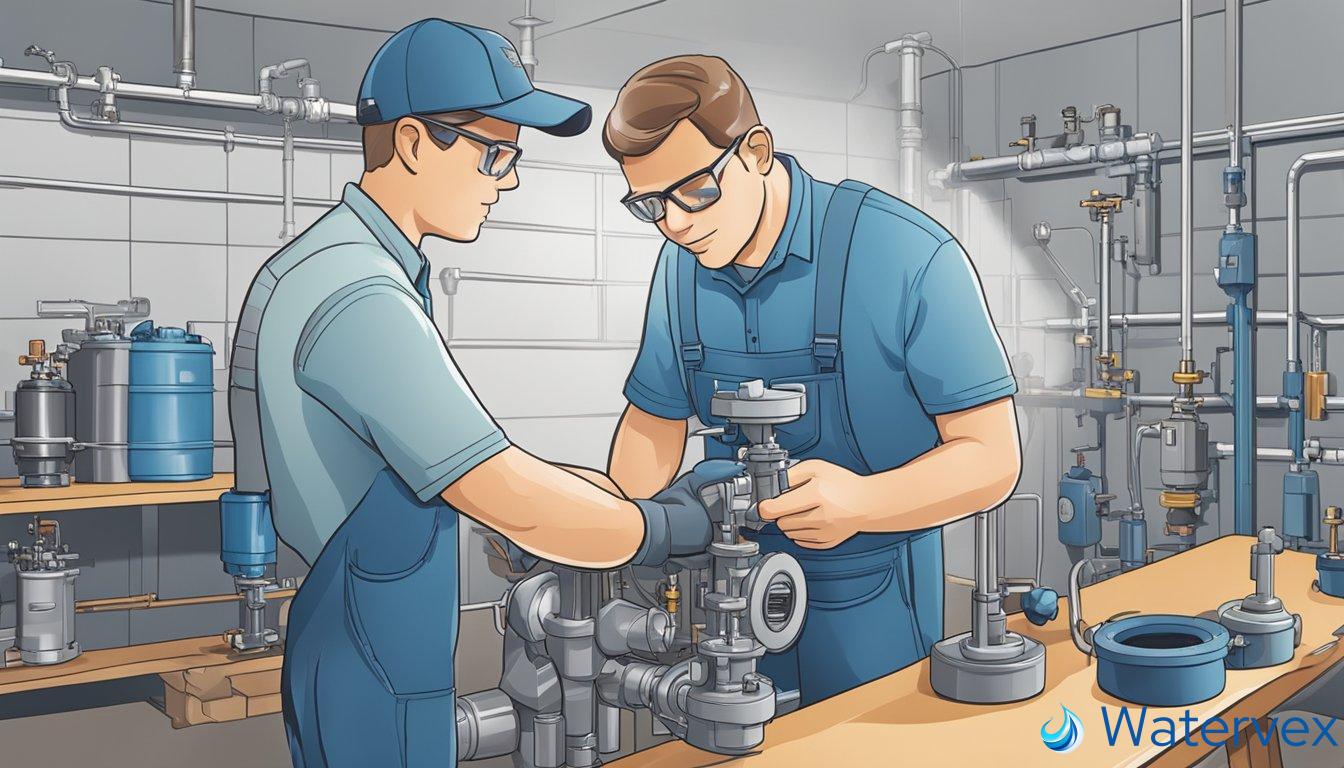
5. Professional Assistance: For complex issues, such as internal plumbing repairs or electrical problems, consulting a qualified technician is advisable. Better safe than sorry, especially with potentially hazardous tasks.
Remember, regular maintenance reduces the need for frequent repairs, but always follow safety equipment guidelines and consult articles and videos for water softeners for a smooth DIY experience.
When to Consider Professional Water Softener Repairs
If your water softener isn’t functioning as efficiently as a GE, Kenmore, Whirlpool, or WaterBoss machine should, you might need to roll up your sleeves for some DIY maintenance – but when specific issues arise, calling a professional is your best bet. Understanding the valve assembly, which controls the flow during regeneration cycles, is crucial.
Common Valve Assembly Issues:
- The softener is stuck in the backwash cycle, continually running without progressing.
- You notice a brine tank overflow, a clear sign of a malfunction.
- There’s no softener salt usage, an indication that your unit is not regenerating.
- Observing a decline in water quality, signifying potential problems with the injector screen, filter screen, or gasket.
When the issue can’t be resolved with basic tools like pliers or scissors, consider these scenarios:
- Complex Internal Components: Inner workings, such as the distributor tube or intricate gasket alignments, often require specialized tools and expertise.
- Fiberglass Resin Tank Issues: Damage to the resin tank can result from improper handling or water quality issues and is best left to those protected by the right gear and know-how.
- Replacement Parts: Finding the right components can be a hassle. Professionals have access to protected, high-quality parts compatible with your system.
A repair guide video may offer insights, but professionals do this daily and can bring an experienced eye to nuanced issues.
Don’t hesitate to seek expert assistance when your troubleshooting, following instructions from a repair guide, or a quick clean of the injector screen doesn’t resolve the issue. The goal is to maintain your water quality without unnecessary complications. The complexities of the valve assembly are not always a DIY fix, and expert intervention can save time, money, and further damage to your system.

