Water hardness, primarily caused by calcium and magnesium in water, can have several detrimental effects in your household, from shortening the lifespan of your appliances to making your skin feel dry after a shower. Equipping your home with a water softening system can prevent these issues. A key component of this system is the drain line, which is essential for the proper disposal of the brine solution used in the water softening process.
When it comes to the requirements for a water softener drain line, it involves more than just a simple pipe installation. It’s crucial for the drain line to be properly sized and installed to handle the flow of wastewater without backing up, which could cause contamination of your drinking water. In addition, there are specific regulations in place to ensure that the disposal of water softener brine doesn’t cause harm to the environment. These guidelines can vary by area, so it’s critical to be familiar with local codes.
Key Takeaways
- A drain line is essential for safely removing brine from water softeners.
- Proper sizing and installation of the drain line are critical to prevent backups.
- Local regulations dictate the proper disposal methods for water softener brine.
Essential Requirements for a Water Softener Drain Line
Proper installation of a drain line is critical for the function and efficiency of your water softener. Let’s dive into what you need to know to ensure that your system works perfectly and adheres to local regulations.
Understanding Drain Line Functions and Regeneration Cycle
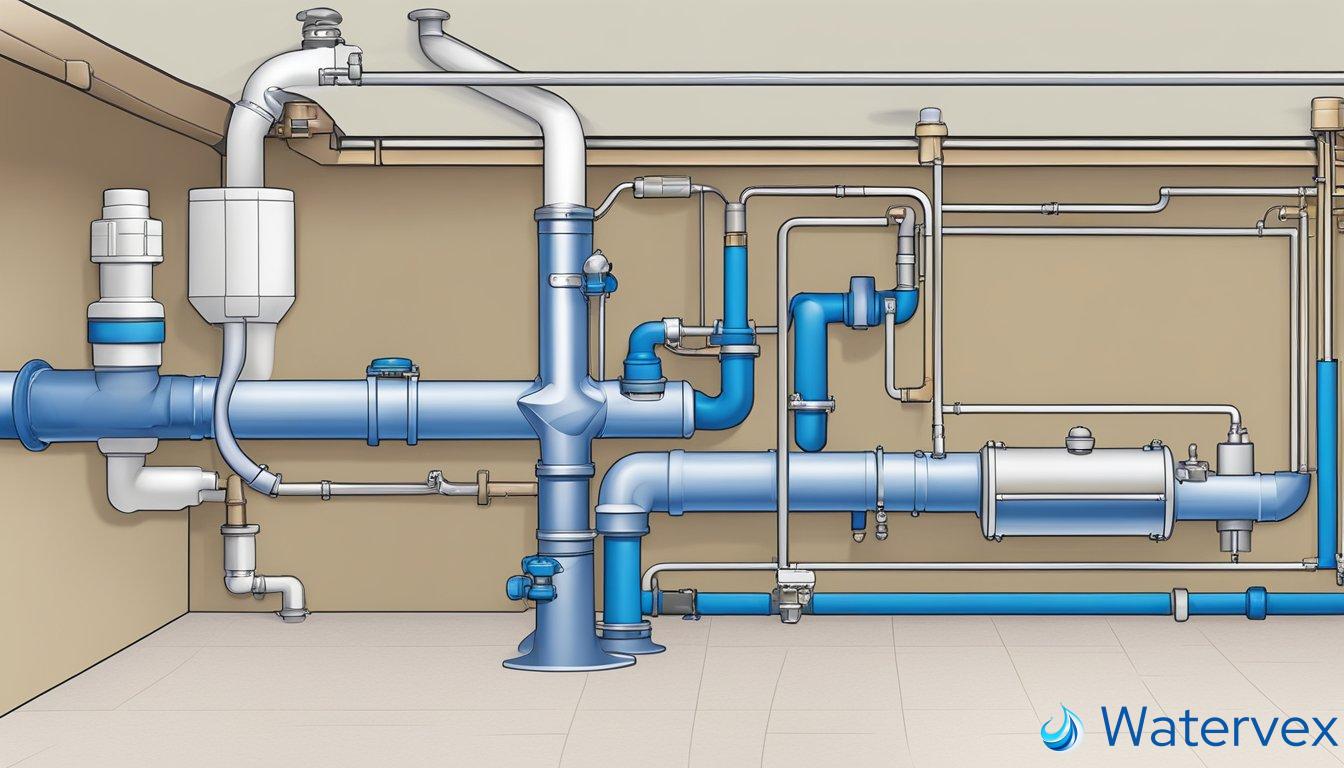
Your water softener drain line is not just a piece of plumbing; it’s a vital component that carries out the waste produced during the regeneration cycle. Regeneration refers to the process where your softener cleanses its resin bed of hardness minerals. The drain line thus plays the double role of routing the backwash water away and preventing an overflow.
This line ensures that the discharge—the high concentration of hardness minerals and brine solution—leaves the system without contaminating your clean water supply. Moreover, local plumbing codes often require an air gap to avoid backflow, making your system safe.
Choosing the Right Drain Line Size and Type
Selecting the proper size for your softener drain line is essential—it must handle the flow rate during the backwash without causing backups or overflows. Commonly, a 1/2-inch line suits residential units, while larger systems may need a 3/4-inch line or greater.
The type of drain you require depends on various factors, including local codes and the layout of your home. Options typically include a laundry tray, floor drain, or properly trapped outlet. Keeping the drain line free from kinks and at an appropriate length ensures uncompromised water flow during regeneration.
For each water softener, setting up a correct drainage system is a non-negotiable. It’s not merely about following the guidelines—your softener relies on this aspect to function effectively and safely.
Installation Guidelines for Optimal Water Softener Drain Line Functioning
The efficiency of your water softener largely depends on the proper installation of the drain line. Proper installation ensures that the system functions correctly and prolongs its lifespan.
Selecting the Ideal Location for Your Drain Line
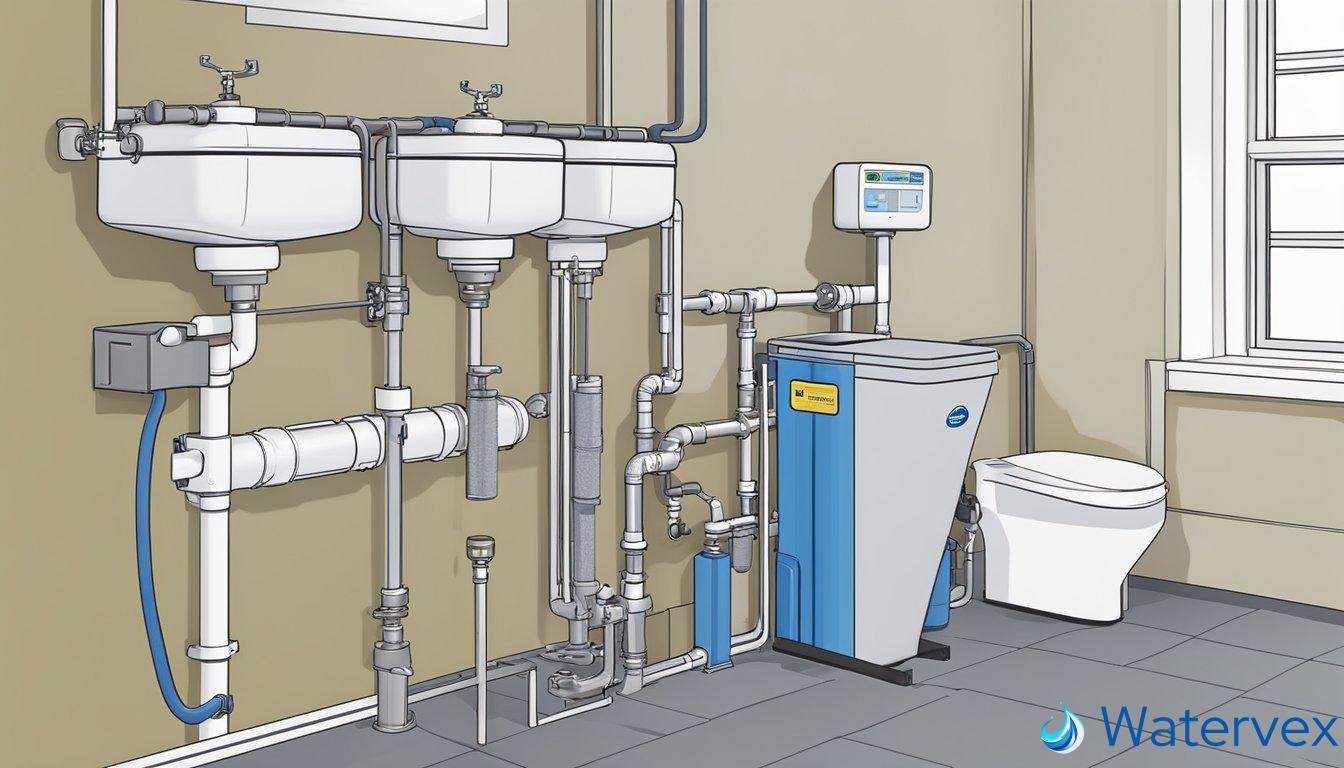
Choosing the correct location for your water softener’s drain line is crucial for its optimal performance. The location should be close to a floor drain, sump pit, or sewage ejector pump, ensuring that it has a downward slope to facilitate gravity drainage. This positioning prevents backflow and makes maintenance easier. For homes without these options, a laundry tray with an air gap or a dry well may serve as alternatives. It’s essential to ensure that the installation complies with local plumbing codes, which may require an air gap to prevent potential cross-connection between wastewater and the fresh water supply.
Steps for a Successful DIY Installation
To install the drain line yourself, carefully plan the route from the water softener to the drain, maintaining a steady downward slope. Connect the tube securely to the water softener and fasten it at intervals along the path to the drain to prevent sagging, which can cause standing water and blockages.
- Measure the distance to the drain location, adding some extra length for adjustments.
- Cut your tubing to the necessary length.
- Secure the tubing with clamps or straps at regular intervals.
- Test for leaks by running the water softener through a regeneration cycle.
Plumbing system intricacies, such as adding a trap to the line, should be handled with care or by a professional if you’re uncertain.
Tools and Materials Checklist
Before starting your DIY installation, gather the following tools and materials:
- Tubing/Piping (specific to your water softener model)
- PVC Primer and Cement (if using PVC piping)
- Pipe Cutter or Hacksaw
- Adjustable Wrench
- Pipe Straps or Clamps
- Teflon Tape
- Gloves and Safety Goggles
Double-check that you have all the necessary items before you begin. This preparation can save you time and help avoid interruption during the installation process.
Regulations for Disposing of Water Softener Brine
Properly managing the disposal of water softener brine is crucial to avoid environmental damage and to comply with legal requirements. Understanding specific regulations and best practices ensures your system’s performance without risking legal repercussions or ecological harm.
Understanding the Environmental Impact and Legal Requirements
Water softener brine contains high levels of sodium ions, which can be a hazard to the environment, particularly to plants and aquatic life. Laws and regulations governing the discharge of brine into wastewater systems are in place to prevent such contamination. Disposal into a sewer pipe is often regulated by local plumbing codes, which might require a certain type of connection to reduce the negative effects of high sodium levels on the sewage system, including septic drain fields.
- Check whether your local regulations permit discharging brine into the sewage system.
- Understand that sodium and salt influence not only the environment but also the performance of your sewage system.
Best Practices for Discharge and Avoiding Contamination
When it comes to the brine tank of your water softener, consistent practices should be followed to mitigate the risks of environmental contamination:
- Regularly inspect your system using tools like a screwdriver to ensure tight connections and no leaks.
- Employ a checklist to evaluate the brine tank’s condition and connections to meet performance standards.
- Install a separate line for brine discharge, following the plumbing code to avoid backflow into the freshwater system.
- If permissible, consider route options for discharging brine, such as a dry well, taking care to not harm the surrounding environment.
By adhering to these regulations and best practices, you maintain not only the health of your household’s water supply but also the well-being of the wider environment.

