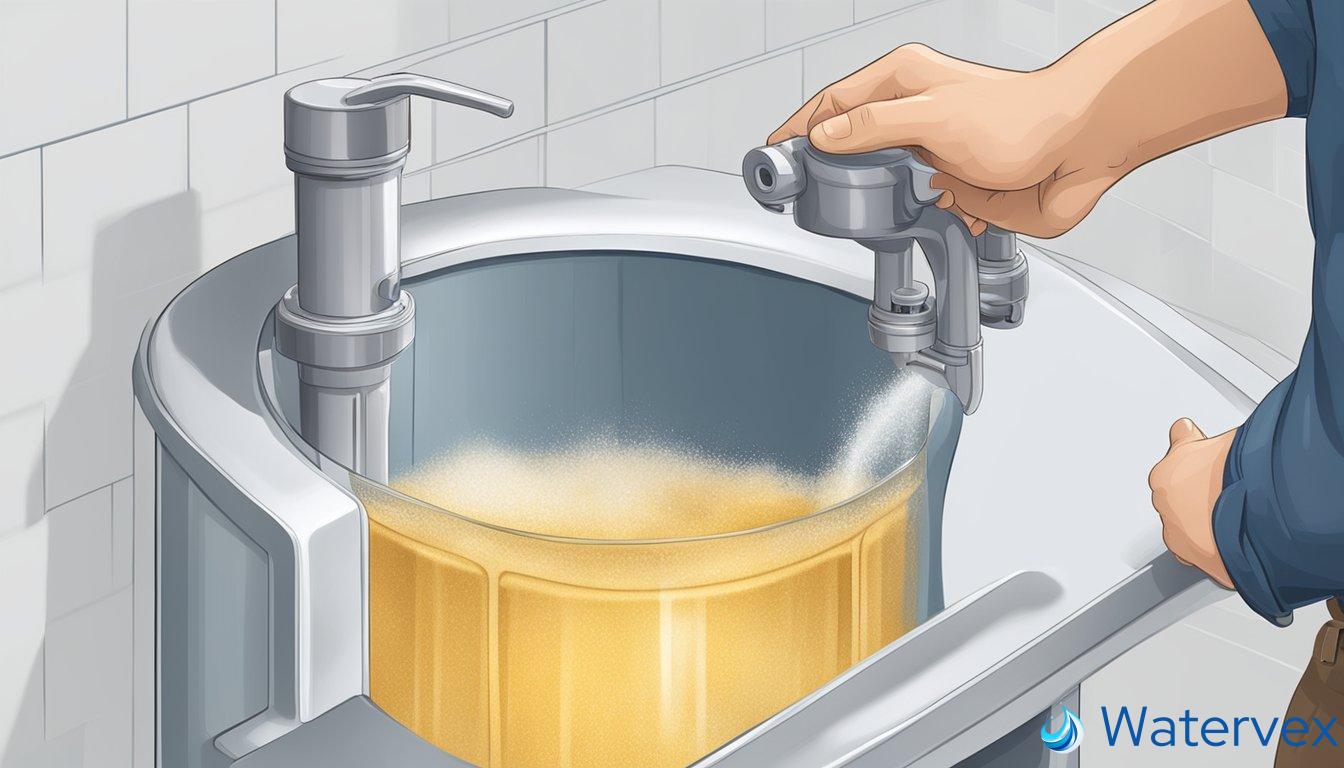
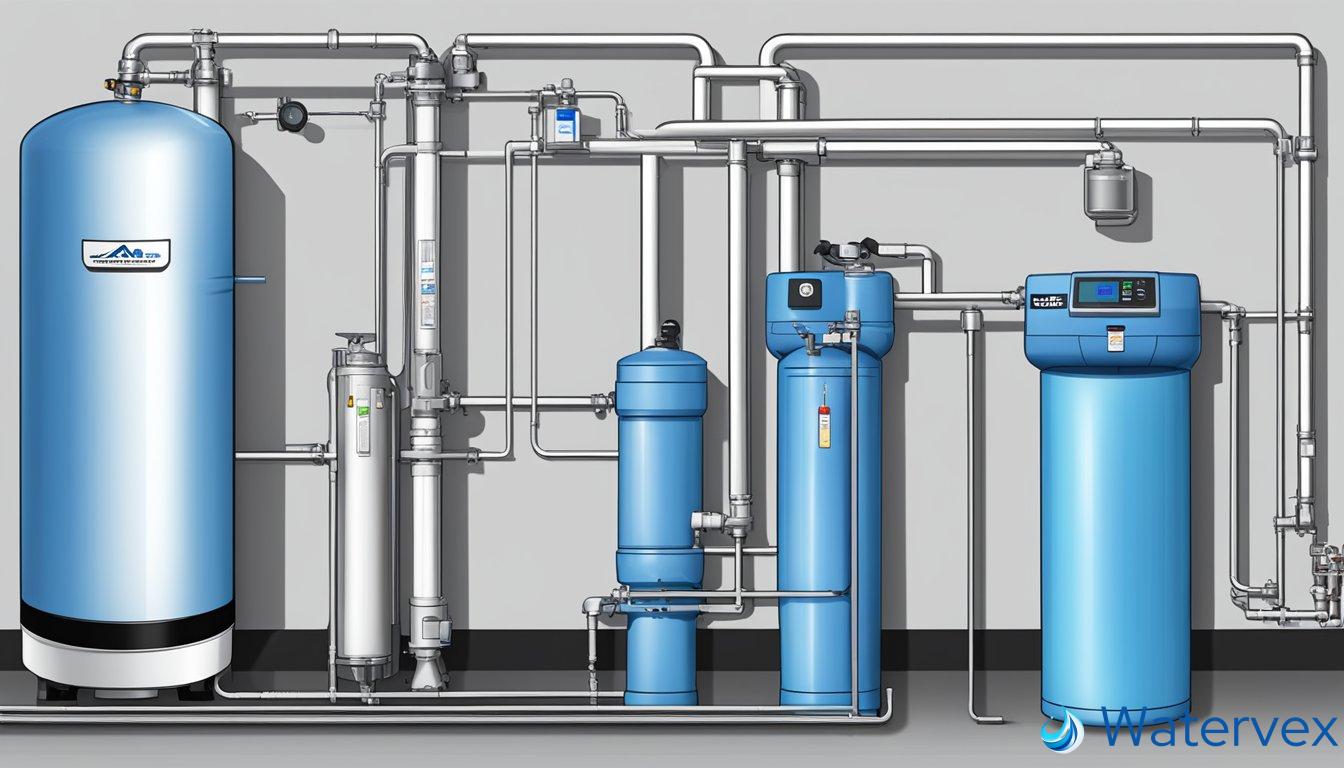
Understanding the nuances of maintaining a water softener is crucial for its effectiveness in combating hard water. The heart of the water softening process lies within the resin tank, where thousands of tiny resin beads utilize ion exchange to trap minerals like calcium and magnesium. However, to continue producing soft water, these resin beads must periodically be recharged with sodium ions – this is where adding salt to your water softener comes in play. Ensuring you add the right type of salt at the right time is key to maintaining not just the efficiency but also the longevity of your softening system.

Adding salt to your water softener is not just about pouring it into the brine tank; it is about understanding when to add it and how much to add to optimize performance and water quality. Whether you’re concerned about the health impacts of hard water, looking to improve the lifespan of your appliances, or simply wanting to enhance your home’s water taste and safety, knowing the intricacies of the water softening process and its maintenance is essential. A well-maintained water softener can prevent scale buildup and ensure that your system runs efficiently, providing quality water for your family.
Key Takeaways
- Adding salt to your water softener recharges the resin beads, essential for efficient hard water treatment.
- Timely salt replenishment is crucial for maintaining water softener performance and water quality.
- Using the correct salt type and following proper procedures enhances the longevity and effectivity of your water softening system.
When Should You Add Salt to Your Water Softener?
Regularly checking your water softener’s salt level is essential, as it affects the effectiveness of the regeneration cycle. Typically, you’ll want to ensure the salt level is at least half-full in the brine tank. Should you open the tank and find the salt noticeably lower than the fill line, it’s time to add salt.
Frequency: Depending on your water hardness level and household water consumption, frequency can vary. Homes with high water usage may need to add salt every month, whereas those with lower usage might do so less frequently.
Water Hardness Level: Tailor salt replenishment to your specific water hardness. Harder water necessitates more frequent salt additions to your softener.
Furthermore, watch out for salt bridges and salt mushing. A salt bridge is a hard crust that forms in the brine tank, leading you to think it’s full when it isn’t. Gently poke at the salt with a stick to break any bridges. Mushing, on the other hand, is when the salt dissolves and recrystallizes at the bottom, which can disrupt the regeneration cycle.
Here’s a tip: If you’re unsure whether a crusty surface is a salt bridge, tap it lightly. A hollow sound indicates a bridge, and you should break it down. Consistent maintenance not only preserves the softener’s efficiency but also your home’s water quality.
To prevent issues, check the brine tank once a month. If you see water above the salt, it’s a cue that the softener isn’t using salt correctly and may require maintenance. Don’t wait until salt is completely depleted—consistent level maintenance is key to continuous soft water supply.
What Type of Salt Is Best for Your Water Softening System?

When you’re aiming to select the best salt for your water softener, consider the type of salt that matches your water quality and softener design. Sodium chloride and potassium chloride are the most frequent choices, each having unique benefits.
Sodium Chloride
Often termed as table salt, it’s the go-to option. It comes in various forms including solar salt, rock salt, and evaporated salt. Solar salt, obtained through the evaporation of sea water, is moderately pure, but may still contain some water-insoluble impurities. Rock salt resembles small rocks or pebbles, less pure than other salts, which could mean more cleaning for your softener. For a higher purity level, evaporated salt is the choice; it’s obtained from mined salt that’s been dissolved and then re-evaporated. It’s generally more expensive, but its high purity means less chance of residue.Potassium Chloride
This is a viable alternative if you’re looking to avoid adding sodium to your water. It’s ideal if you’re monitoring your sodium intake for health reasons. However, it can be pricier and not as readily available as sodium chloride.
When considering the cost, basic rock salt is usually cheaper compared to higher purity options like evaporated salt. However, since higher purity salts may minimize residue and maintenance, they could offer better value over time.
Regarding brands, options like Morton and Cargill offer a range of water softener salts tailored to different needs and water hardness levels.
Purity of the salt is also crucial for the efficient operation of your softening system. Look for a purity level of 99.6% or higher to ensure fewer tank clean-outs.
Consider the form of salt too, whether it’s pellets or crystals. Pellets are ideal for most models and tends to be less messy. Block salt, while less common, is another form that works well with specific softener models designed for this type.
Remember, each water softener might work best with a certain type of salt, so it’s wise to consult your softener’s manual or manufacturer if you’re uncertain.
How Do You Properly Add Salt to Your Water Softener?

Adding salt to your water softener is crucial for its ability to remove minerals from your water. It’s not just about pouring in salt; it’s about the correct method, amount, and type of salt to ensure the system’s efficiency and prolong its lifespan.
Preparing Your Water Softener for Salt Addition
First, ensure that your water softener’s brine tank is ready for salt. This means ensuring it’s clean and that any salt bridges or mushing — hardened salt buildup that can create a crust or turn into sludge at the bottom — are broken up and removed. Use a long, sturdy tool like a broom handle to carefully push down on any solidified salt. Clear the tank of any debris or insoluble materials that could impair the process of salt addition.
Step-by-Step Guide to Adding Salt
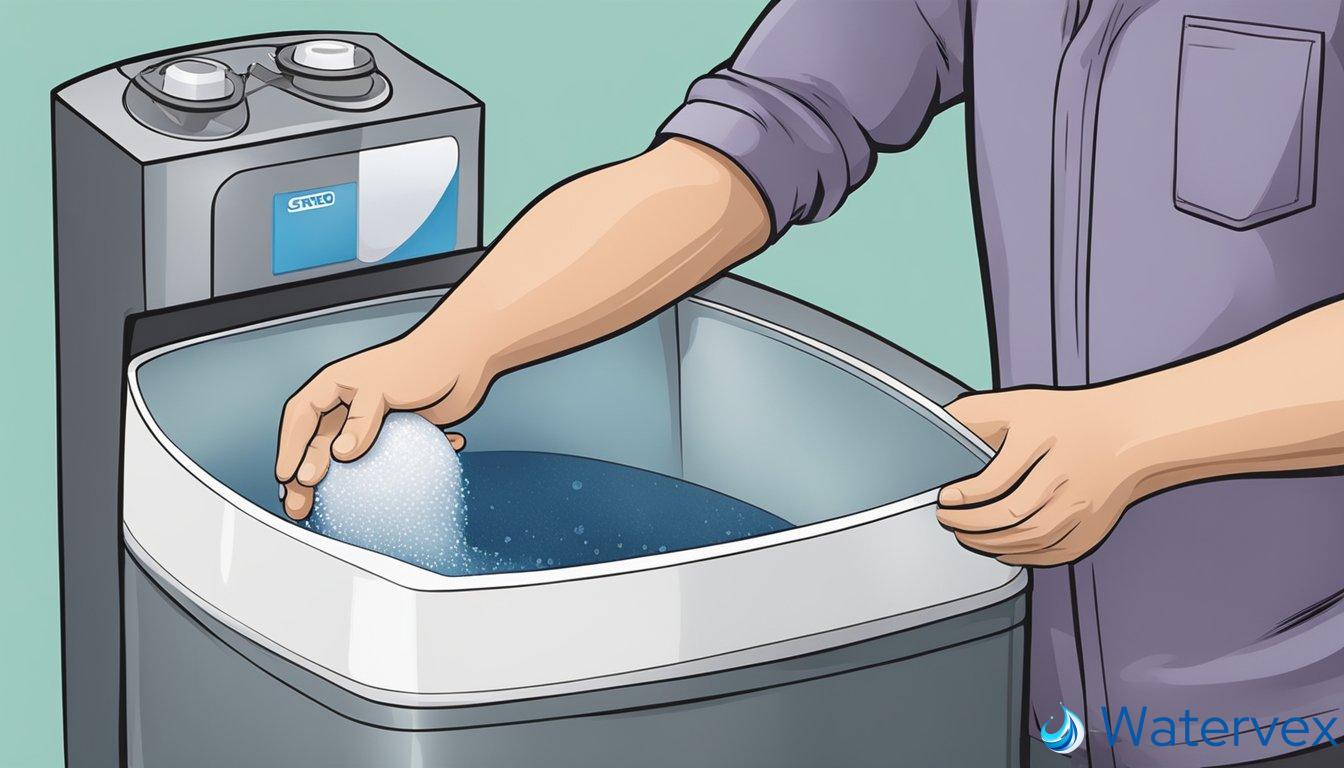
To add salt, you’ll need a scoop or a funnel to help pour the salt into the tank effectively. Referring to a step-by-step guide can simplify the process:
- Open the lid of the brine tank.
- If there is a salt bridge, carefully break it up.
- If using a 40-pound bag of salt, it may be easier to scoop the salt into the tank rather than lifting the bag.
- Using a scoop or funnel, add salt to the brine tank, being careful not to overfill.
Ensuring Correct Salt Levels and Maintenance
After adding salt, it’s essential to check that the levels are optimal for your water usage. A general rule is to keep salt levels at least a few inches above the water line but no more than four inches below the top of the tank for optimal performance. Periodically check your softener and add salt as needed. Regular maintenance contributes to both the performance and lifespan of your water softener.
Remember, it’s not just about adding salt; it’s about adding the right amount, using the proper technique, and maintaining your system to work efficiently.

