Installing a water softener in your garage can be a savvy move to combat hard water issues in your home. If you’re tired of dealing with limescale buildup on your appliances and fixtures, or if you’re simply aiming to improve your water quality, setting up a water softener system in your garage is a practical solution. Since the garage often offers easy access to the main water line and has sufficient space for the system, it’s a convenient location for many homeowners.
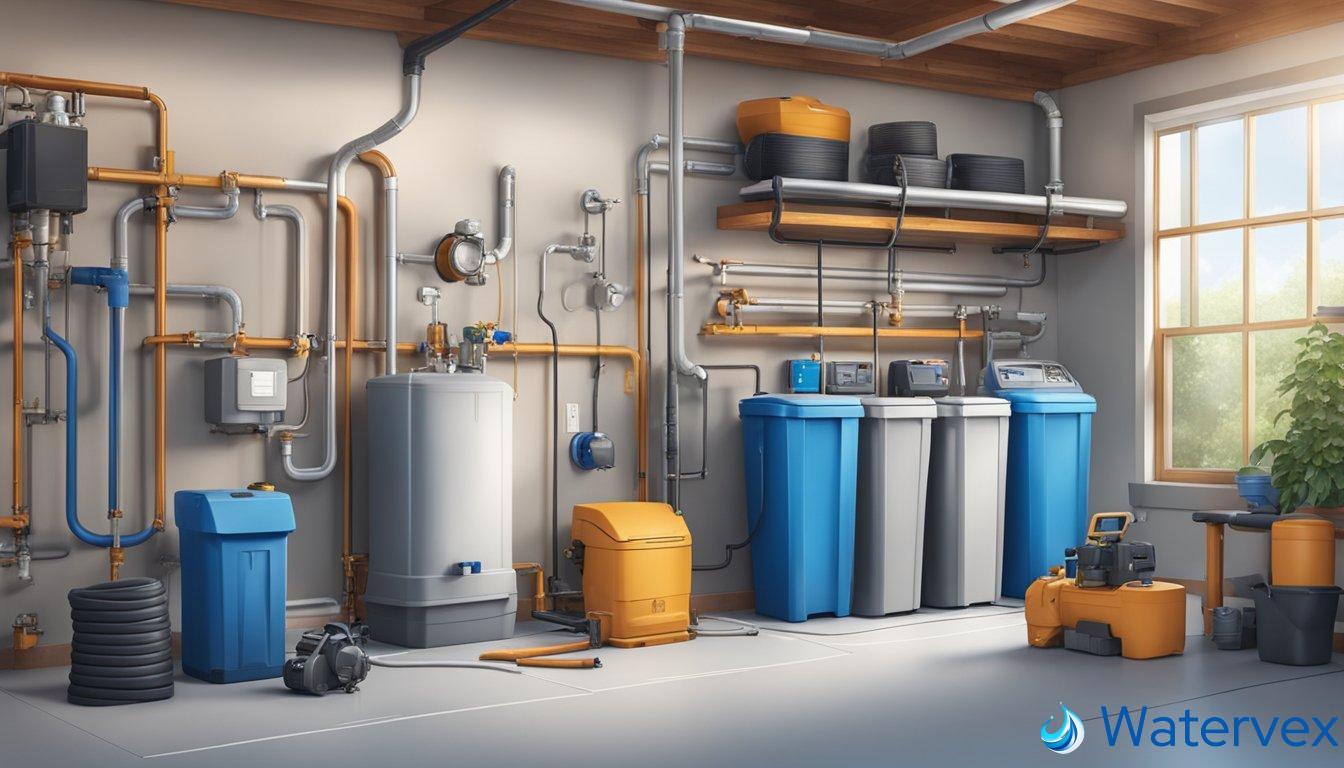
Before rolling up your sleeves to begin the installation process, it’s essential to gather the necessary tools and verify that your garage environment is suitable for housing a water softener. You’ll need to consider factors like the proximity of the garage to your water’s point of entry (POE), the typical temperature range in the garage to prevent freezing, and the space available for installation and future maintenance. Selecting the right tools and ensuring a conducive environment will pave the way for a smoother DIY project, or help you communicate effectively with a plumber if you choose to hire professional services.
Key Takeaways
- Proper preparation and tool selection are critical for installing a water softener.
- Garages with access to the main water line and stable temperatures are ideal spots.
- Effective maintenance space is crucial for a successful water softener setup.
Preparing for Installation
Before starting to install a water softener in your garage, careful preparation is essential for a trouble-free setup. From picking the precise spot to consolidating your toolkit, this phase sets the stage for successful installation.
Choosing the Right Location
The spot you select for your water softener in the garage should meet certain criteria to ensure optimal functionality and ease of maintenance. Avoid placing your softener near places prone to drastic temperature changes, as extremes can damage your system. Find a location close to an electrical outlet and where the water supply enters your home to ease connection. Ensure there’s a floor drain or utility sink nearby for drainage. A measuring tape will be vital to confirm the space meets these requirements.
- Proximity: Keep the water softener close to the point of entry (POE) of your water supply.
- Accessibility: Choose a spot accessible enough for ease of maintenance and salt refilling.
- Temperature Control: Ensure the garage area is not subject to freezing temperatures that could damage the system.
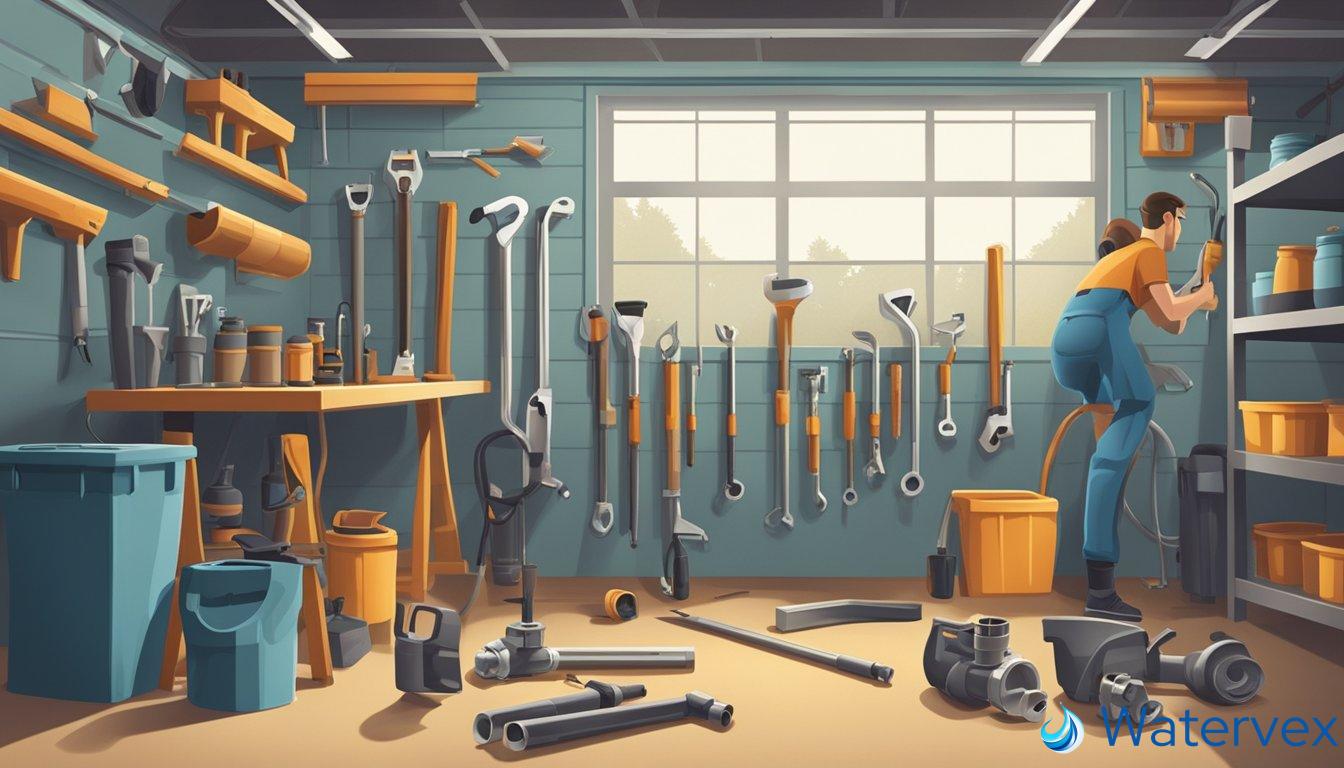
Gathering Necessary Tools and Materials
With your location set, gather the tools and materials you’ll need. Among these, a pipe cutter, fittings, tubing, valves, and teflon tape are crucial for establishing secure water connections. A bypass valve is essential for maintenance without shutting off your home’s water supply.
- Tools: Pipe cutter, adjustable wrenches, screwdrivers, and teflon tape.
- Materials: Fittings, tubing, a bypass valve, flexible tubing, and valves for water line connection.
- Supplies: Don’t forget essentials like salt for the brine tank and a flashlight for better visibility.
Breakdown of Tools and Materials:
| Tools Needed | Materials Required |
|---|---|
| Pipe Cutter | Fittings |
| Adjustable Wrenches | Tubing |
| Screwdrivers | Bypass Valve |
| Measuring Tape | Flexible Tubing |
| Flashlight | Valves |
| Teflon Tape | Control Valve |
Remember, your setup needs to adhere to local plumbing codes and manufacturer’s guidelines. Double-checking these details now will save you time and hassle later.
Plumbing and Connections
When preparing to install a water softener in your garage, the plumbing and connections are critical to ensuring a smooth installation. Understanding the specifics of pipe cutting, fitting, and attaching to the main water supply will make the process efficient and effective.
Cutting and Fitting Pipes
Before cutting into your existing pipes, it’s essential to measure carefully and confirm the size of the pipes and the water softener’s bypass valve. Ensure the measurements are precise to avoid leaks. Use a pipe cutter to make clean cuts on your copper pipe and avoid using a hacksaw, as it can leave uneven edges. After cutting, use sandpaper to smooth out the inside and outside of the pipes, preparing them for a secure fit. If soldering is necessary, apply flux evenly before heating. Follow the manufacturer’s instructions for any specific pipe fitting requirements related to your water softener model.
Attaching to Main Water Supply
To connect the water softener to your main water supply line, first turn off the water and drain the system. Cutting into the main line, install a water loop if one isn’t present — this is where your softener will be connected. Use the appropriate adapters and valves to ensure a proper connection between the bypass valve and the existing plumbing. Tubing or additional pipes may be needed to reach the drain for proper drainage. Make sure that all connections are secure and there are no signs of leakage. After connections are made, verify the water hardness level—often measured in grains per gallon—to appropriately set up your water softener, which may require potassium pellets or other specific minerals based on your water’s mineral content.
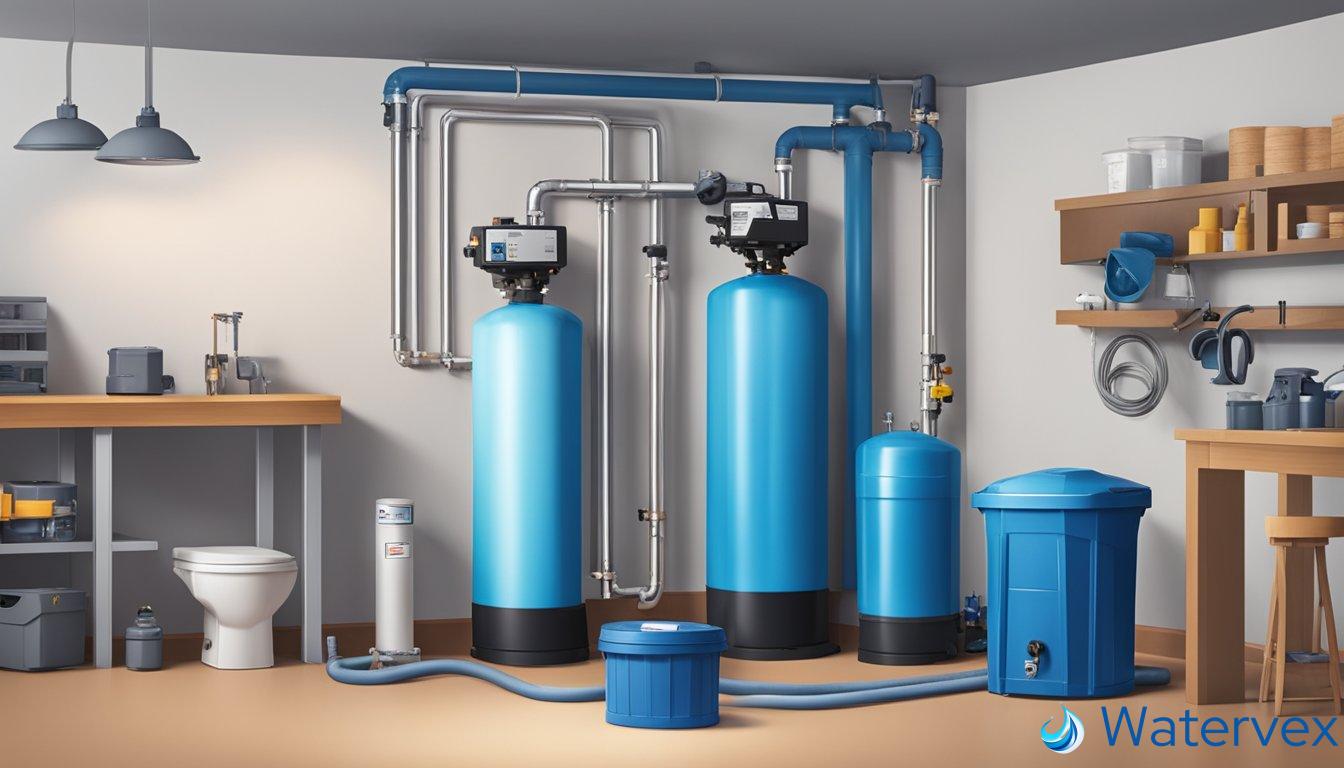
Water Softener System Setup
When installing a water softener in your garage, it’s crucial to properly set up the brine tank and ensure correct connections to the drain to maintain the system’s efficiency and longevity.
Installing the Brine Tank
First, identify a location for your brine tank that is near both the water softener’s mineral tank and an electrical outlet. It’s essential to position the tank on a flat, stable surface to prevent any tilting or movement. Fill the tank with the recommended type of salt, paying close attention to maintaining the correct salt level. This level is paramount, as it will affect the regeneration process of the resin in the mineral tank. Utilize hose clamps and secure connections to avoid any leaks during the water usage cycle.
- Place the brine tank: Ensure it’s level and close to the system.
- Fill with salt: Use only the recommended type of salt.
- Monitor salt levels: Regular maintenance checks are important for performance.
Connecting to the Drain
Connecting the drain hose or tubing to an appropriate drain is a step that must be taken with precision. The hose should run from the water softener to the drain, ensuring it follows local plumbing codes. Make sure that the hose is securely fastened with hose clamps to prevent dislodging and leaks, which could affect the efficacy of the regeneration cycle or cause water damage in the garage. The proper installation of this drain line is critical for the removal of hard water minerals and used brine during regeneration.
- Secure the hose: Fasten it to the system and drain using clamps.
- Follow local codes: Ensure compliance with plumbing regulations.
- Check for leaks: After installation, inspect the connections.
By focusing on these specific steps, you’re on your way to enhancing your home’s water quality and safeguarding your family’s health and your appliances against the impacts of hard water.
Finalizing the Installation
Once you’ve physically installed your water softener in the garage, it’s crucial to ensure everything is running smoothly before calling the job done.
Checking for Leaks and Testing
First Step: Visually inspect all connections. Use a bright light to carefully look for any water escaping from pipe joints, fittings, or the water softener itself. Make sure you take your time and check from different angles; leaks can be elusive.
Second Step: Test the water flow. Turn on the water supply to the softener and observe. You’re listening for the usual sounds of water movement and watching for any abnormal drips or sprays that could indicate a leak.
If you do encounter a drip or a leak, don’t panic. Sometimes a simple tightening with a wrench can solve the problem. However, if you’ve tightened all connections and the issue persists, it might be time to check the washers or to consider resealing joints with plumber’s tape.
After addressing any leaks, monitor the temperature in the garage. Extreme cold can cause water lines to freeze, possibly leading to a cracked softener. You want to maintain a stable, non-freezing environment for the system to operate efficiently.
Lastly, verify that the unit is properly connected to electricity. Your water softener likely needs a power source to run its control unit. Make sure the outlet you’ve chosen is functional and that the unit is displaying the correct settings.
Remember, taking the time to double-check your installation can prevent costly issues in the future. Not only does a well-installed water softener protect your appliances from the ravages of hard water, but it also contributes to the overall health of your water system, ensuring that your family can enjoy pure, mineral-free water without the worry of high installation costs from potential mistakes.

