When it comes to managing your home maintenance, dealing with a water softener that needs to be removed can seem daunting. Whether it’s because you’re upgrading to a newer system, experiencing malfunctions, or you no longer require its services, understanding how to properly get rid of your old water softener is crucial. It’s not just about pulling out the device; there are steps to ensure the process is smooth and doesn’t negatively impact your home’s plumbing system.
Before you start disconnecting your water softener, it’s critical to prepare. This involves not only gathering the necessary tools but also understanding the structure of your water softening system—knowing where the inlet and outlet pipes connect, how the electrical system is set up, and where the water supply shut-off valve is located. Properly shutting down and draining your water softener avoids water damage and prepares the unit for safe removal. As you proceed with the disconnection, taking care of each component with attention helps maintain safety and prevent any unexpected leaks or spills.
Key Takeaways
- Safely remove your water softener by preparing and knowing your system.
- Follow proper steps to disconnect and drain the unit to avoid water damage.
- Dispose of the water softener responsibly, considering recycling options.
Preparation Steps Before Disconnecting a Water Softener
Before attempting to remove your water softener, taking the proper preparatory steps is crucial for a safe and effective disconnection process. Here are the essentials:
Gather Necessary Tools:
Ensure you have all the tools on hand for a smooth operation. You’ll need:
- A large bucket
- A wrench or slip joint pliers
- A screwdriver
Ensure Safety:
Safety always comes first. Make sure to:
- Turn Off Power: Disconnect the water softener from any power source to avoid any electrical hazards.
- Locate the Bypass Valve: Identify the bypass valve, which will allow you to shut off water to the unit without affecting the rest of your home’s water supply.
Water Supply:
Handle the water supply with care:
- Shut Off Main Supply: Find your main water supply valve and turn it off to prevent water from flowing into the softener during the process.
- Water Drainage: Position your bucket in place to catch any water that may spill when disconnecting the unit.
By carefully following these steps, you set yourself up for a successful removal of your water softener. Remember to keep your manual handy for any model-specific instructions related to disconnection.
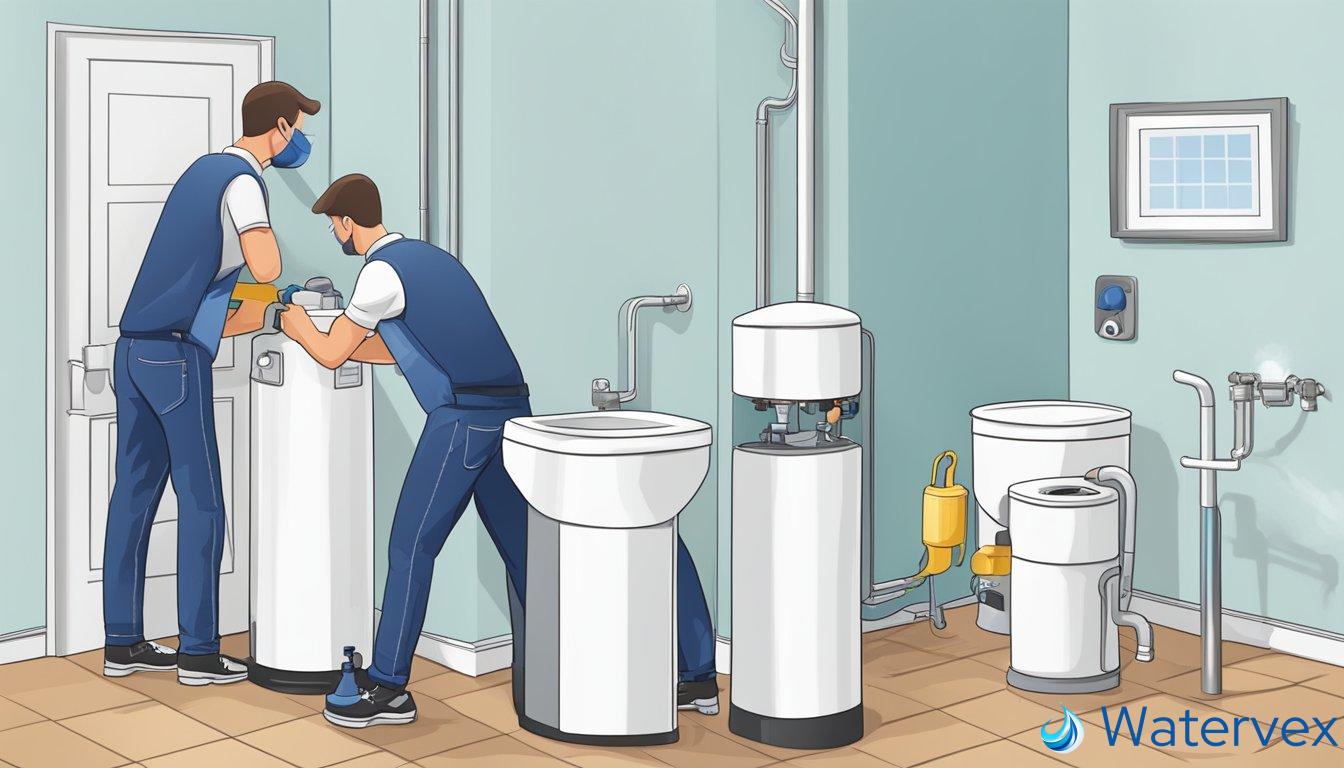
How to Disconnect and Remove the Water Softener
When you’ve decided to say goodbye to your water softener, it’s important to follow a precise process for safe and efficient removal. From draining the tank to detaching the unit, each step needs careful attention to prevent spills and leaks.
Safely Removing Salt and Resin
Before getting rid of your water softener, ensure all salt and resin are removed:
- Drain the brine tank using a hose bib or a small pump.
- Scoop out remaining salt and resin into a bucket.
- Rinse the brine tank with water to wash away any leftover particles, using a towel to dry.
Repeat the process if necessary to fully clear out the brine tank.
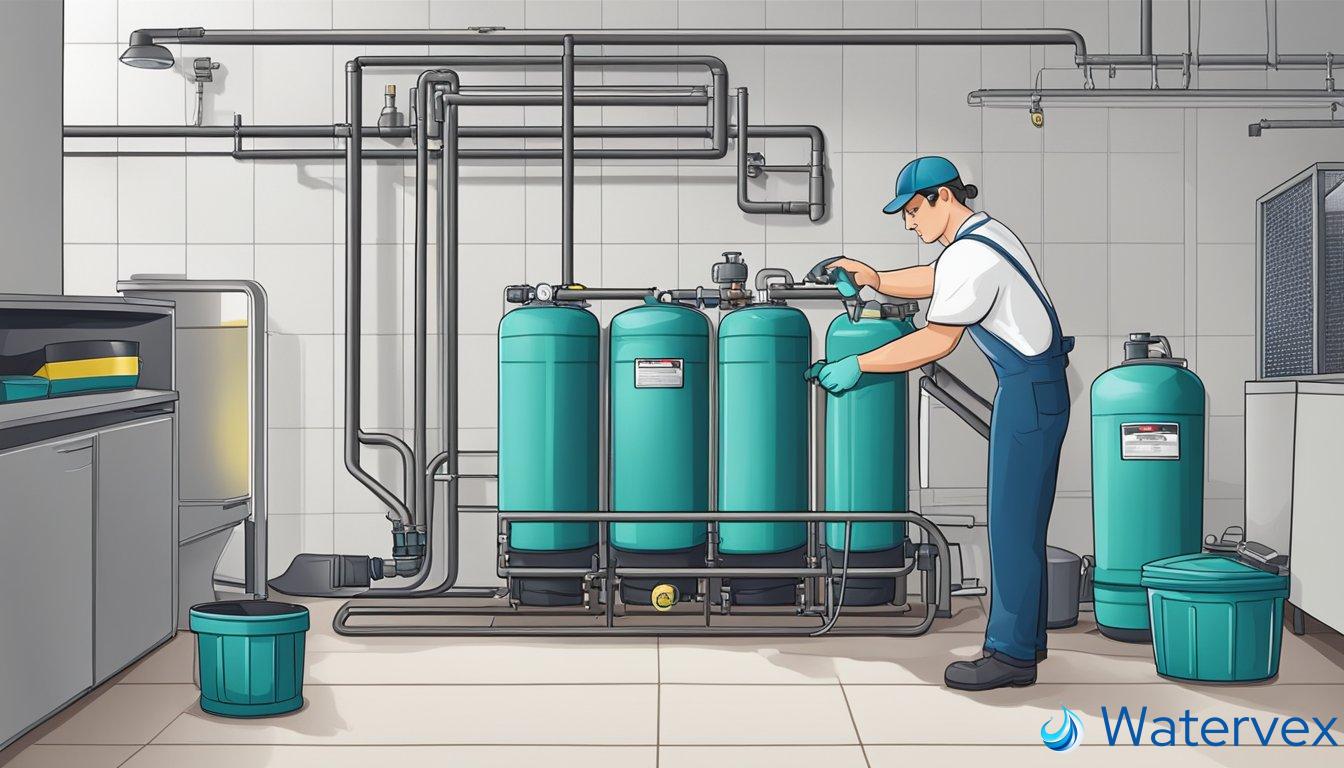
Detaching and Draining the Water Softener
Once the brine tank is clear, proceed to disconnect and drain the water softener:
- Shut off your water supply and engage the bypass valve to isolate the softener.
- Locate the relief valve and allow the system to depressurize.
- Disconnect hoses and pipes cautiously to avoid water spills.
- Use a bucket to catch any residual water as you detach each connection.
Ensuring no water is left inside can prevent spills during the physical removal of the unit.
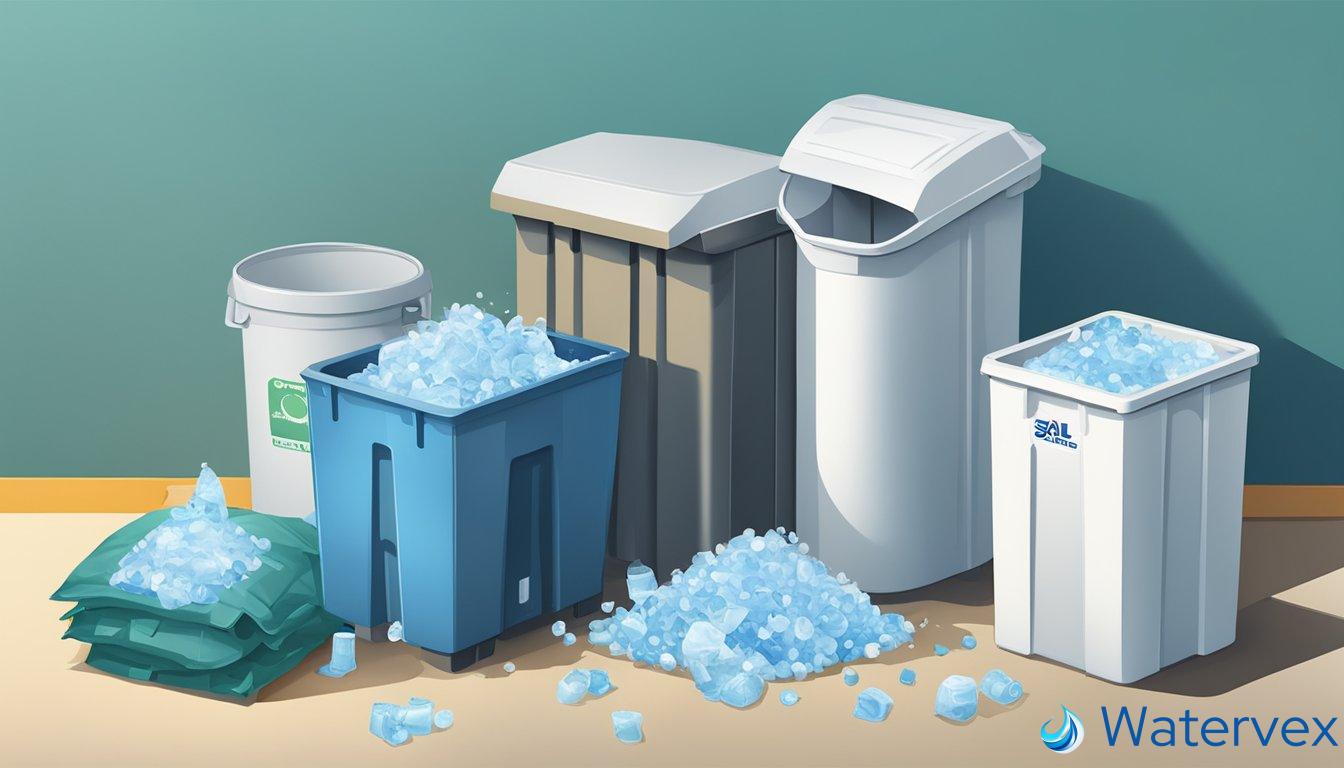
Disposal and Recycling of Water Softener Components
When it’s time to dispose of an old water softener, you might find yourself wondering about the most environmentally-friendly way to do so. Regulations around disposal can vary, so it’s important to check local guidelines. Generally, water softeners contain parts that can be handled in different ways.
Water softener resin often cannot be recycled due to contamination risks. It’s usually best to place the resin in a sturdy trash bag for solid waste collection. This ensures that any potential contaminants are safely managed. Learn more about this process on WaterFilterGuru.com.
The salt used in regeneration can be bagged and disposed of with household trash, but always consider if the amount of salt borders on what your local waste management considers as hazardous.
Recycling:
- Metal components like valves or pipes: Can often be recycled at scrap metal facilities.
- Fiberglass and plastic tanks: Check for recycling codes and local facilities willing to accept these materials.
Selling:
If your water softener is still in working condition, consider selling it. Platforms like Craigslist or Facebook Marketplace are suitable for this.
When to Contact a Professional:
- If you suspect the water softener contains hazardous materials.
- You’re unsure about local waste regulations.
Here’s a brief rundown of disposal options:
| Component | Disposal Method |
|---|---|
| Resin Beads | Trash bag for solid waste collection |
| Salt | Household trash |
| Metal Parts | Scrap metal recycling |
| Plastic Tanks | Check local recycling acceptance |
Remember to check with DROP or BISSELL for disposal assistance; they may guide you through the process.
Post-Removal Clean-Up and Maintenance
After you’ve removed the water softener, there’s a bit of housekeeping to ensure your plumbing remains in top shape. If you’ve decided that a water softener no longer fits your family’s needs or you’re preparing to replace your unit, you’ll want to focus on cleaning out any residual salt, minerals, and deposits that the system left behind.
Start by inspecting your plumbing for salt bridges and salt mushing—these are layers or piles of salt that might block the brine tank from working efficiently. If you find a bridge, carefully break it apart with a long, sturdy tool. For mushing, the thick sludge at the bottom of the tank, you’ll need to scoop it out. Full clean-ups might require you to disassemble some pipes, especially if there’s buildup noticeable.
Next, focus on disinfecting to target any bacteria. There’s a simple solution: mix a quarter cup of bleach with two gallons of water, pour it into your brine tank, and let it sit for 15 minutes. This helps in sanitizing the areas that were in contact with the water softener. Scrub if necessary, then thoroughly rinse with clean water to ensure no bleach remains.
Finally, inspect where the water softener was connected to your water line. Look for any hard water deposits. These can often be treated with a vinegar solution. Soak the area, then scrub to remove any lingering minerals—this is especially crucial for maintaining the efficiency of your remaining water fixtures.
Tools Needed:
- Brush
- Sturdy scoop
- Clean bucket
Materials Needed:
- Bleach (unscented)
- Vinegar
Remember, all these steps will help transition your home back to harden water use, maintaining its quality and your family’s health.

