Maintaining a water softener is crucial to keep it running efficiently and to ensure that your home continues to enjoy the benefits of soft water. The water softener injector, also known as an eductor, plays a pivotal role in this process; it injects brine into the resin tank to regenerate the resin beads which are responsible for softening hard water. Over time, this injector can become clogged with sediment or mineral deposits, leading to decreased performance or even system failure.

To maintain the smooth operation of your water softener system, it’s essential to keep the injector clean. This requires a careful approach and an understanding of the water softener’s components and how they work together. Without regular cleaning, hard water minerals can build up and harden within the injector, preventing the proper flow of brine and reducing the effectiveness of the water softening process.
Key Takeaways
- Regular cleaning of the water softener injector ensures efficient system operation.
- Clogs in the injector can disrupt the water softening process leading to hard water issues.
- Understanding your system’s components aids in maintaining water softener longevity.
Identifying When a Water Softener Injector Needs Cleaning
Maintaining your water softener system is crucial to ensure it operates efficiently. A key component requiring periodic attention is the injector, which directly affects water quality and pressure. It’s important to recognize the signs of blockage and understand the impact clogs can have on the performance of your water softener.
Recognizing the Signs of Injector Blockage
When the injector of your water softener becomes clogged, it can manifest in several ways. One clear indicator is a decrease in water pressure throughout your home. If you notice that the water flow has slowed down, the injector might be blocked by sediment or iron buildup. Another sign is when the brine tank fails to empty properly during the regeneration cycle, a process essential for replenishing the resin beads that soften the water. This could suggest a blockage impeding the brine flow. Additionally, if you see an increase in salt usage without a corresponding increase in water usage, it might indicate that the injector isn’t drawing the proper amount of brine.
Understanding the Impact on Water Softener Performance
The performance of your water softener is heavily dependent on the condition of the injector. A blockage can hinder the regeneration cycle, reducing the system’s ability to effectively remove minerals such as calcium and magnesium from the water. Poor performance here directly impacts the quality of the softened water. A clogged injector can also lead to incomplete regeneration, causing hard water with high mineral content to flow through your taps, which will affect not just the taste but also the safety of your water. Additionally, without proper and regular cleaning, you may find yourself needing service repairs more often, as blockages can lead to other issues within the water softening system over time.
Preparing to Clean Your Injector

Maintaining a water softener system is critical, particularly the injector, as it’s prone to clogging with dirt and sediments. Proper preparation ensures the process is smooth and effective.
Gathering Required Materials
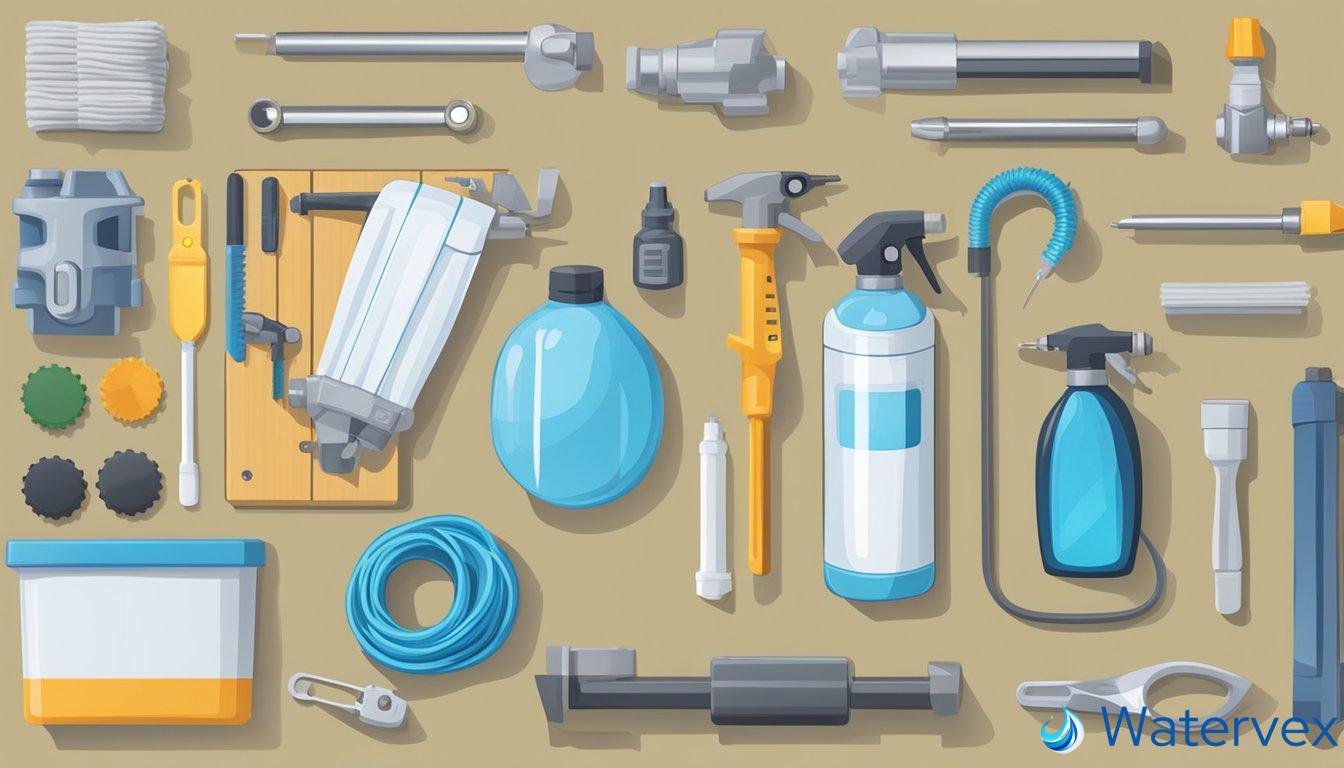
You’ll need a few specific tools to properly clean the injector in your water softener: a screwdriver, needle-nose pliers, and a small brush or toothpick. Additionally, have a bucket and some clean cloths on hand. It’s also helpful to have a flexible tube or a turkey baster to remove or apply water during the cleaning process.
Safety Precautions and Preparatory Steps
First, prioritize safety by ensuring the water softener is disconnected from the power supply to prevent any electrical mishaps. Then, locate the bypass valve—it’s essential to switch the water softener to the “bypass” mode to stop water flow, this way you won’t lose water pressure in the rest of your home during cleaning.
Checking for pressure in the system is next; release any pressure in the water softener by cautiously opening the valve after placing it in bypass and ensuring all water outlets are closed. This keeps any sudden releases of water from causing a mess or damage. Lastly, inspect the area around the injector for any visible dirt or debris; remove what you can before starting the cleaning process to minimize contamination.
Step-by-Step Cleaning Process

Regular maintenance of your water softener’s injector is crucial to ensure the effectiveness and longevity of the unit. This guide will take you through the essential steps to properly clean the injector, which plays a vital role in creating the brine solution for regeneration.
Disassembling the Injector Components
Firstly, you’ll need to carefully disassemble the injector components. Turn the water softener to “Bypass” mode to stop water flow. Then, unplug the unit from its power source to ensure safety. Remove the eductor cap clip and the eductor cap. Take out the whole eductor assembly. Remember to keep all parts organized to ease reassembly.
Thorough Cleaning and Inspection
Once disassembled, each part must be cleaned thoroughly. Using a clean cloth, gently wipe away any sediment or debris from the injector nozzle and other components. For stubborn buildup, soak the parts in a solution of vinegar and water. This will help dissolve mineral deposits. After soaking, inspect each part to ensure they are free of damage and blockages.
Reassembling and Testing
After cleaning, reassemble the injector by reversing the disassembly steps. Make sure every part fits snugly. Now, plug the unit back in and turn off the “Bypass” mode. Run a manual regeneration cycle to ensure the injector works properly. Check for leaks and listen for any unusual sounds which might indicate a need to troubleshoot further.
Remember to maintain your water softener’s injector as part of regular unit care to prevent issues and retain efficient operation.
Maintenance Tips to Prevent Future Injector Issues

Regular maintenance of your water softener injector is key to ensuring it operates efficiently. Begin with regular cleaning; aim for at least twice a year or as advised by your owner’s manual. This small habit can greatly extend the lifespan of your water softener.
First, check the injector screen; it’s often the culprit for blockages. Its intricate mesh catches particles, so run through a mild cleaning agent to clean it thoroughly, then rinse with pure salt water. This dual approach of chemical and natural cleaning aids in dissolving any lingering substances.
Using pure salt is a smart preventative measure for avoiding future issues. Cheaper salts can contain insoluble particles that might clog your system. Sure, they’re less expensive, but think of pure salt as an investment in your injector’s health.
Don’t forget to keep the brine tank clean, which directly affects the injector’s performance. Empty and scrub it out during your regular maintenance to prevent sediment from even reaching the injector.
And remember, if you’re ever in doubt, don’t hesitate to contact customer service for your specific model. They can provide guidance tailored to your system, which can save you both time and frustration.
Here’s your maintenance checklist:
- Biannual Cleaning: Mark it on your calendar as a regular task.
- Injector Screen: Inspect and clean with a suitable cleaning agent, then follow up with a pure salt rinse.
- Pure Salt: Use it consistently to minimize blockage risks.
- Brine Tank: Keep it clean to safeguard the injector.
Maintaining your water softener injector isn’t just about following steps; it’s about being proactive and recognizing that through routine care, you’re not only preserving the equipment but also ensuring the quality of water for you and your family.

